First screen
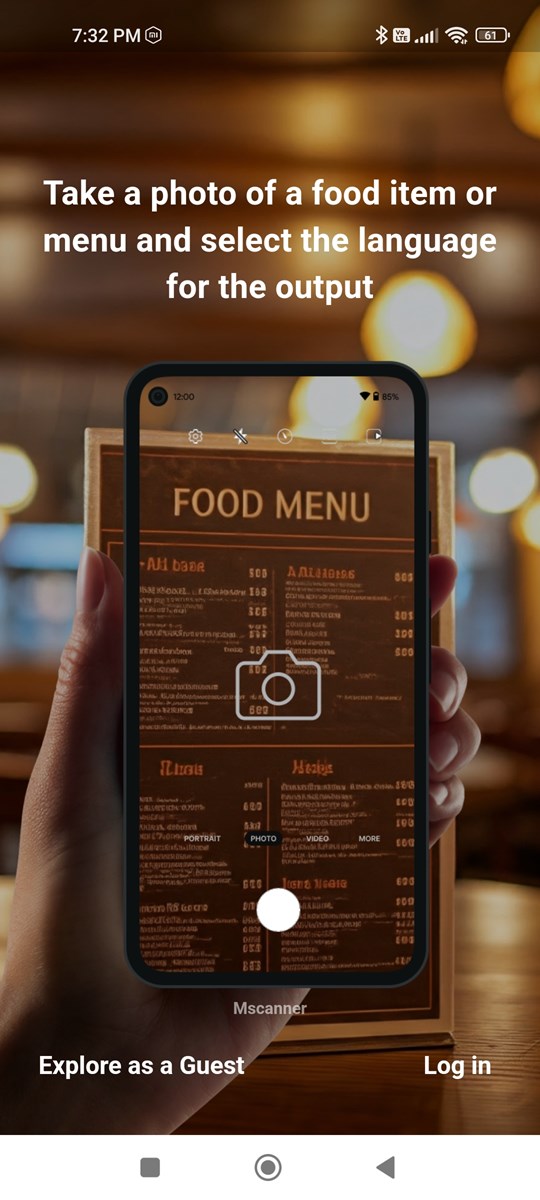
You can choose between guest use and login.
Difference between guest use and login
- Guest use does not require account registration, but scanned menus cannot be saved.
- To log in, you must register an account. Once you register an account, you can save to the cloud.
*What is cloud saving?
You can save scanned menus to MscannerCloud.
If you save to the cloud, you can view the history of scanned menus at any time.
Cloud saving is managed on an account-by-account basis, so you can view the history of scanned menus on another device by logging in with a registered account.
login
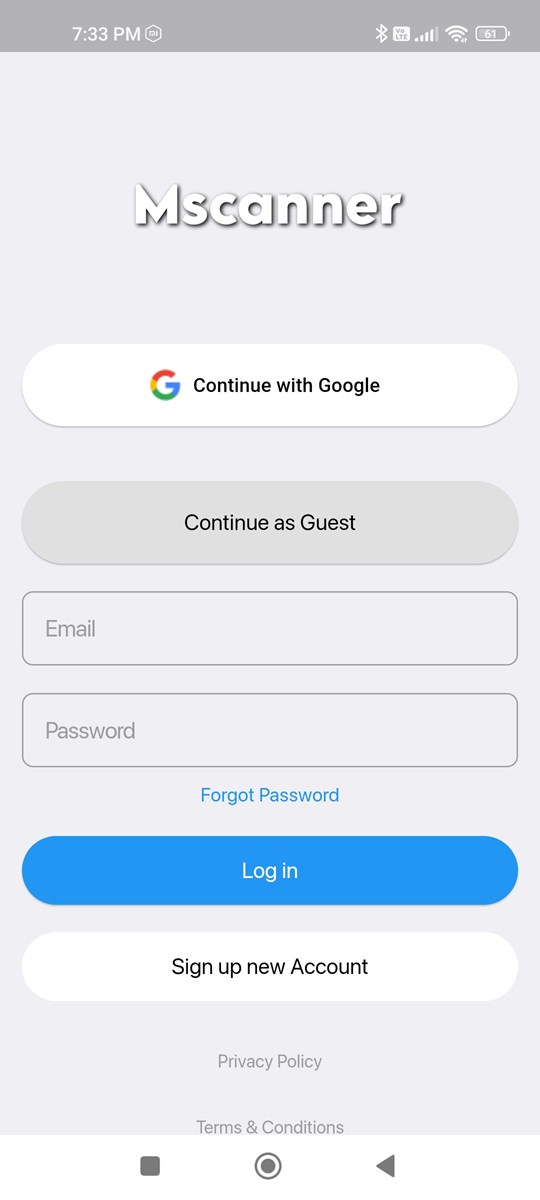
If you do not have an Mscanner account, please create a new one.
If you already have an account, please enter your account information and log in.
Logging in with your Google account or Apple account is convenient as you do not need to set up an email address.
If you have forgotten your password, you can reset it here.
You can log in to Mscanner by pressing Log In or the Google/Apple authentication button.
When registering an email address/password, we do not check whether the email address exists, but if the email address is not in email format, account creation will fail. Please specify a password of 6 characters or more.
GPS Permissions
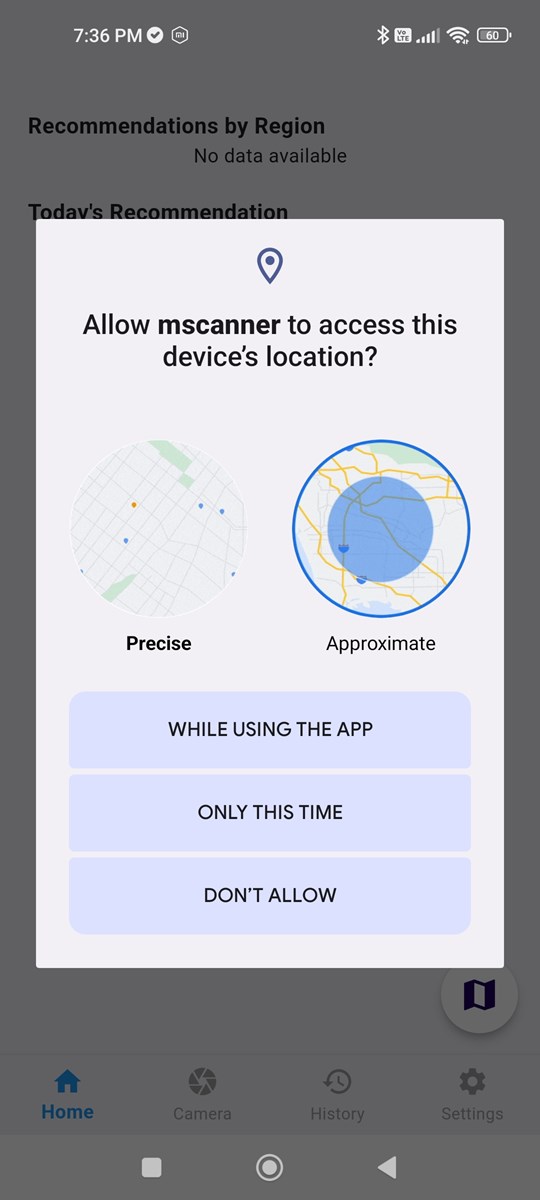
When you start the app for the first time, the GPS permission screen will be displayed.
Please grant this app permission to use GPS.
Mscanner uses GPS to store local recommendations and the locations of stores whose menus have been scanned in the history.
*If you do not grant GPS permission, mscanner will not work properly.
Home Screen
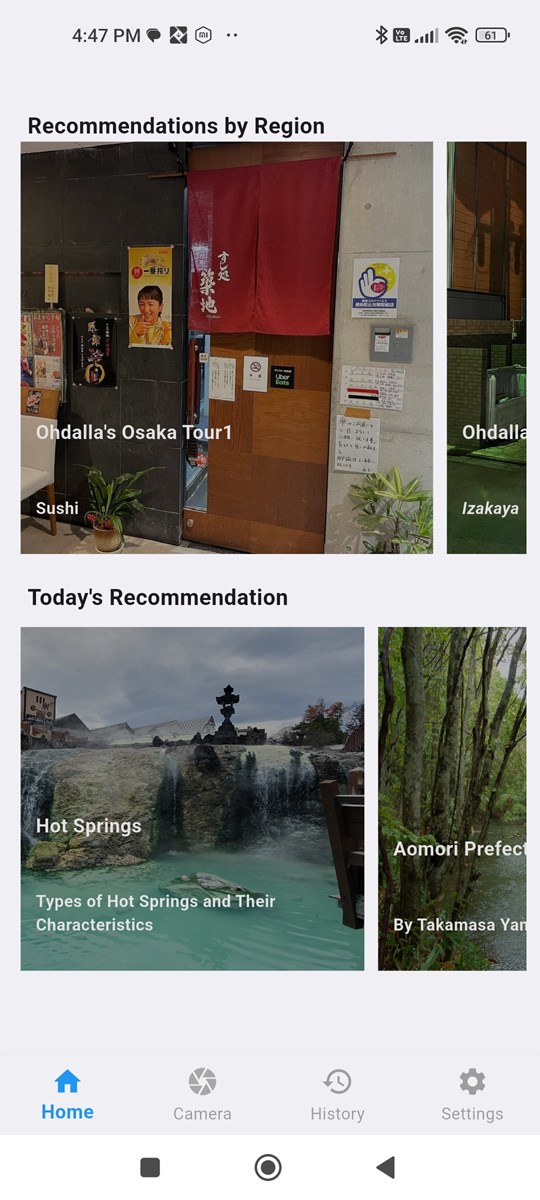
This home screen is displayed by clicking the home button on the menu bar at the bottom of the screen.
This screen displays recommended information from Mscanner. Tapping on a recommended photo will display detailed information about the recommendation.
This recommended information is based on GPS information and is displayed based on your current area.
If there is a recommended information that interests you, please tap it.
Scroll down to see a link to the MScanner manual page.
Camera permission granted
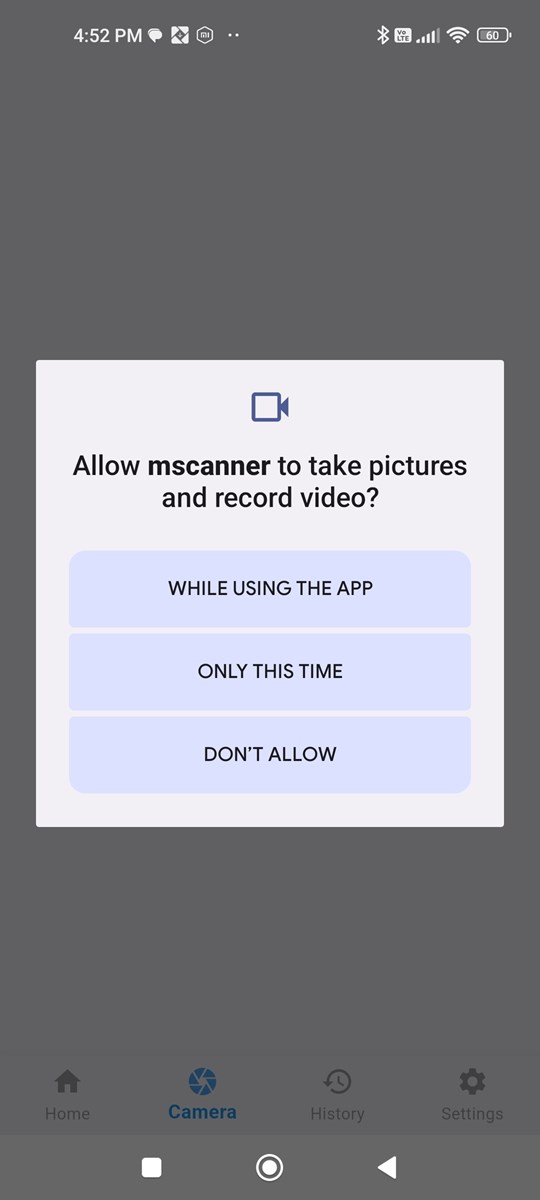
When you start the camera for the first time, the camera permission screen will be displayed.
Please grant this app permission to use the camera.
When Mscanner scans a menu, it takes a picture of the menu with the camera and analyzes the photo of the menu using AI. For this purpose, the camera is used.
*MScanner will not work properly unless you allow the camera.
Menu photo shoot

Use your camera to take a picture of the menu you want to scan.
Take a photo where the text and photo are clearly recognizable so that the AI can identify the text.
Use your camera's magnification and focus functions in combination to take the photo. Be careful of light reflections, etc.
Once you've taken a photo of the menu, confirm the photo.
Advertisement display
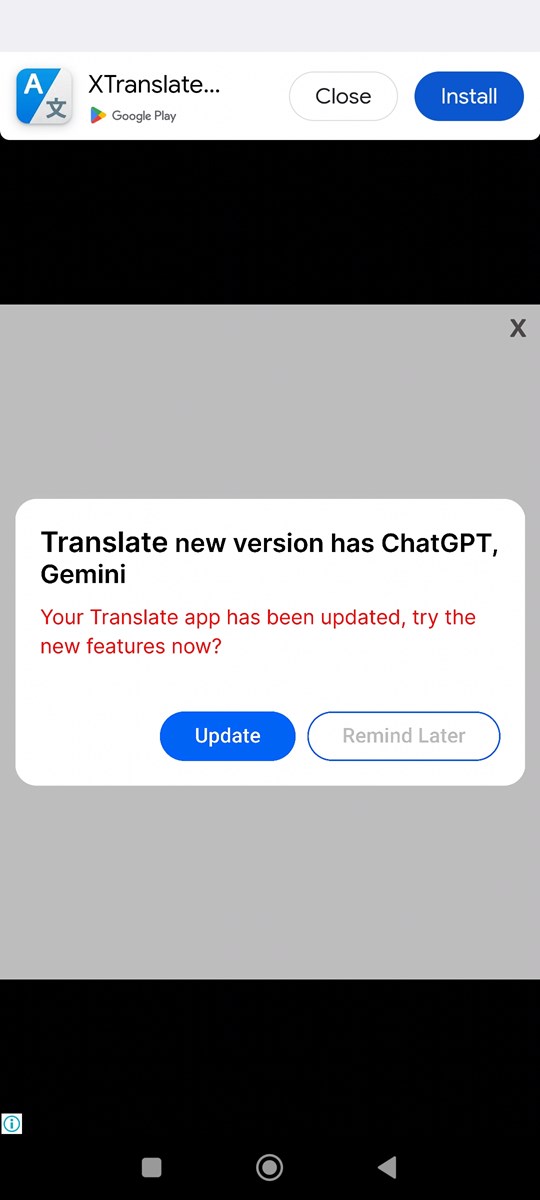
Once you confirm the photo, an ad will be displayed.
While the ad is displayed, AI is scanning your photo.
When you have finished watching the ad, close it.
The AI scan takes about 10 seconds.
Even after you close the ad, the scan may still be in progress.
Please wait until the scan results are displayed.
Scan results
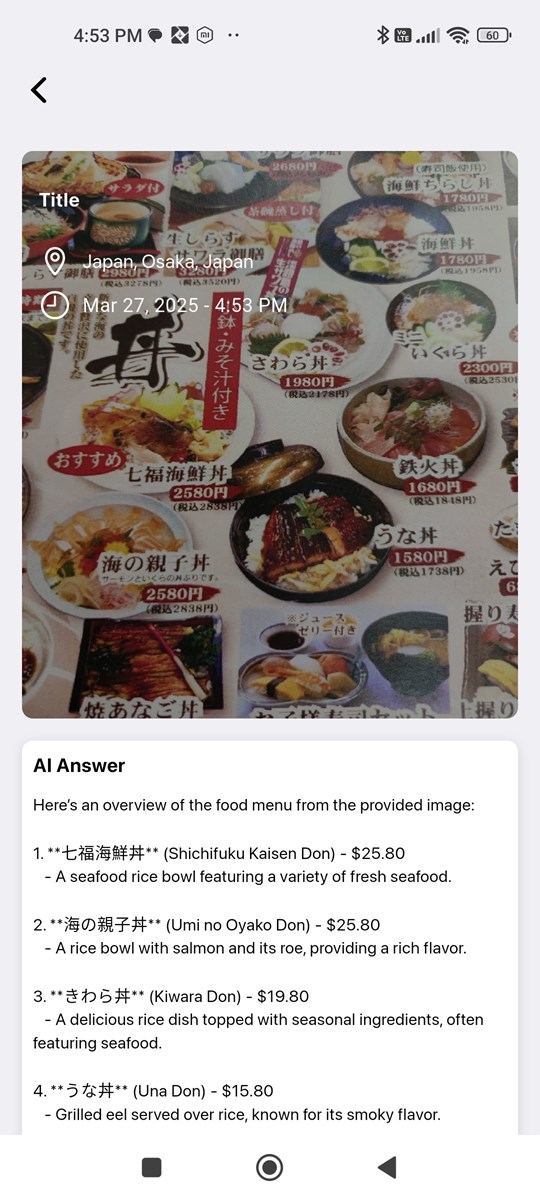
The scan results will be displayed. Scroll through the results to see the AI's answers.
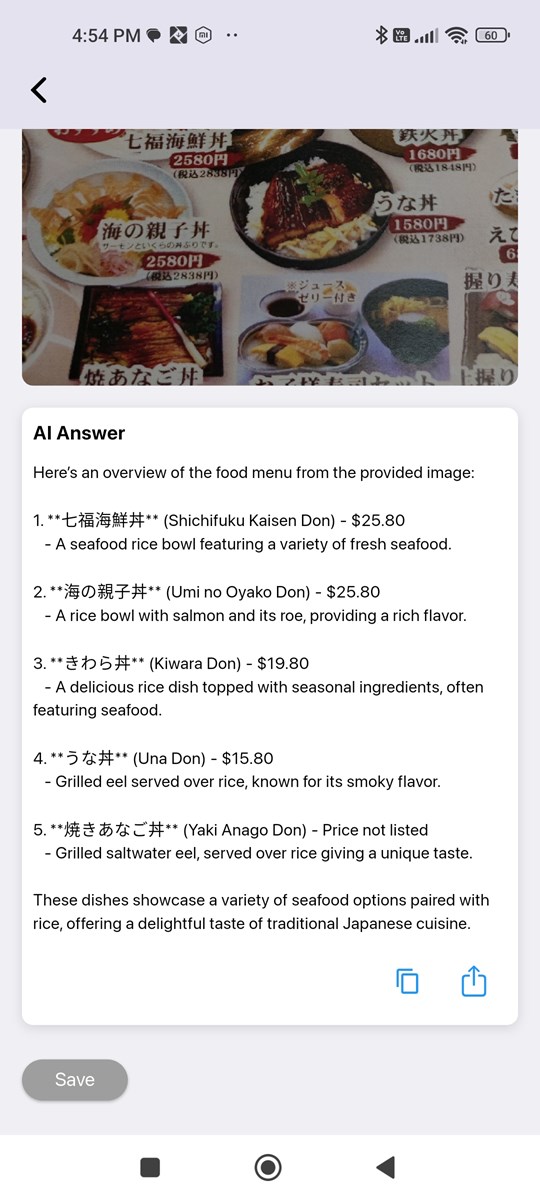
At the bottom of the AI results, there are two icons and a Save button.
Copy button: Copies the text of the scan contents to the clipboard.
Share button: Displays apps on your device that can be shared with.
Press the Save button to save the scan results to the cloud.
*If you are using a guest account, results saved to the cloud will be deleted when you log out.
Restaurant Rating
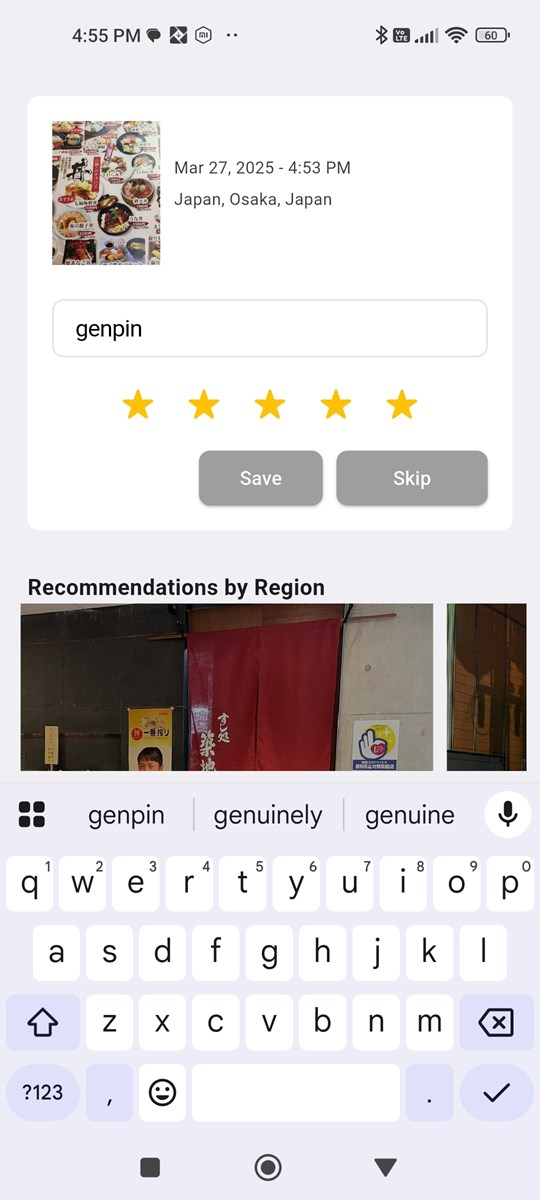
Once saved to the cloud, a rating screen for the scanned restaurant will be displayed.
Please enter the restaurant name and rate the restaurant.
Press the SAVE button to update the restaurant name and rating information.
Please help us by entering the restaurant name and rating the restaurant.
Scan Menu History
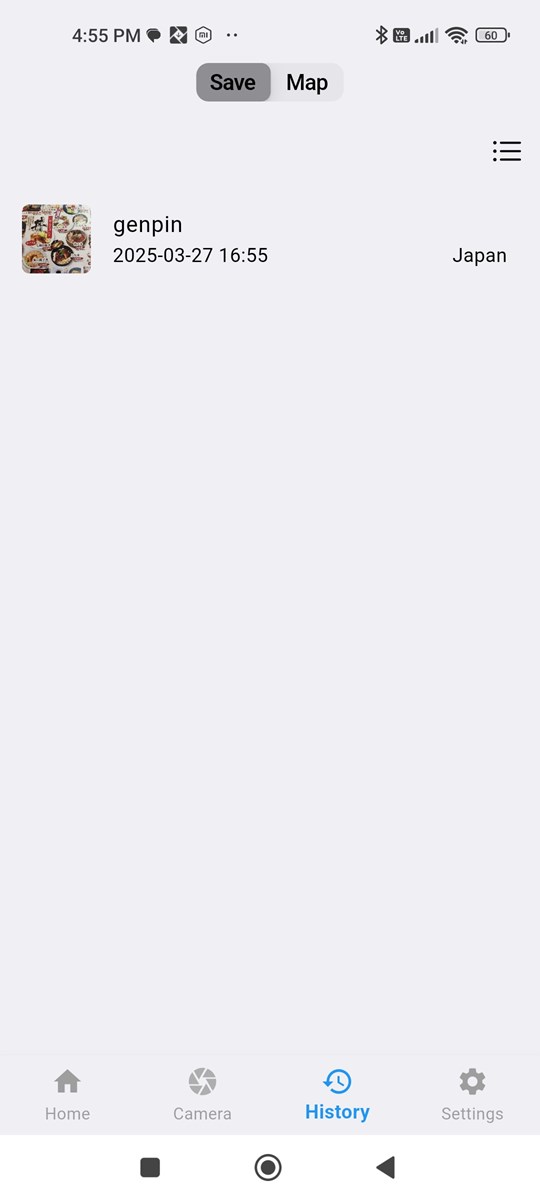
The menu scan contents and rating information stored in the cloud are displayed in list format.
Tap an item to view the scan results.
Delete Scan Menu History
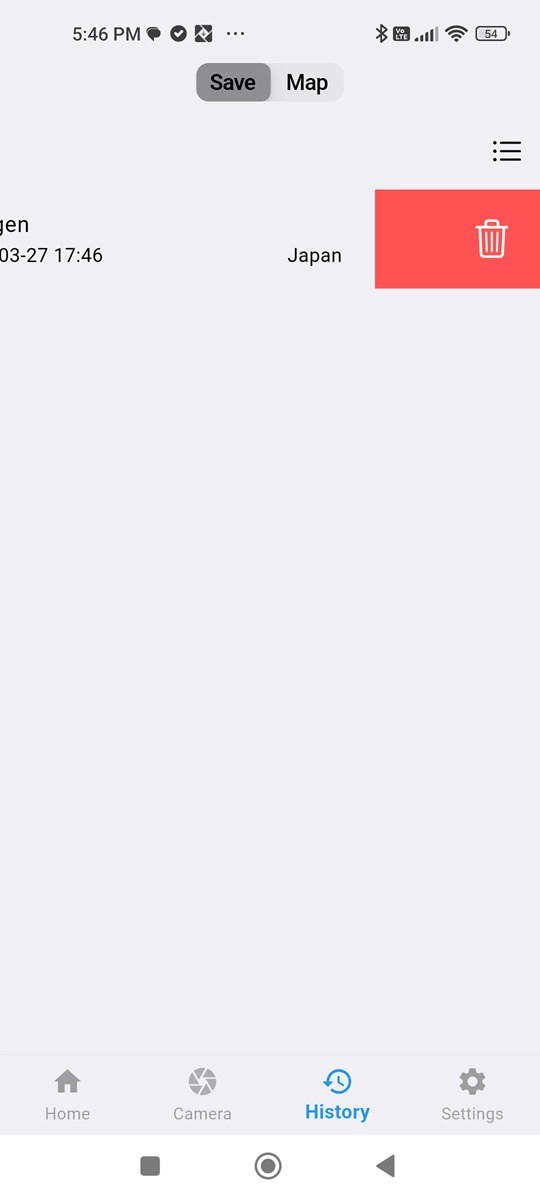
If you want to delete the history stored in the cloud, swipe left on the list card.
The card you swipe will be deleted.
Visited restaurant map display
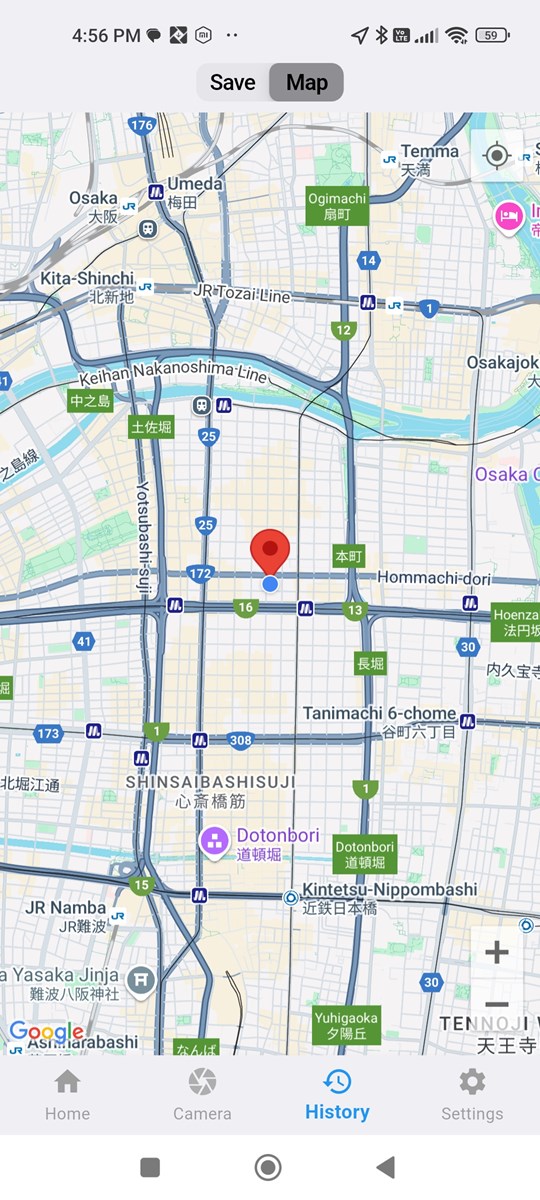
The restaurants you've scanned and rated will be displayed in map format.
Pins will be displayed at the restaurants you've scanned.
You can look back at the restaurants you've scanned later.
Setting screen

This screen allows you to configure Mscanner's operation settings.
Account: Displays the account avatar icon. Press the logout button to log out.
Display mode: Select your preferred display mode.
AI settings: Change the AI setting presets.
Account conversion: Switches the guest account to this account.
Account Conversion
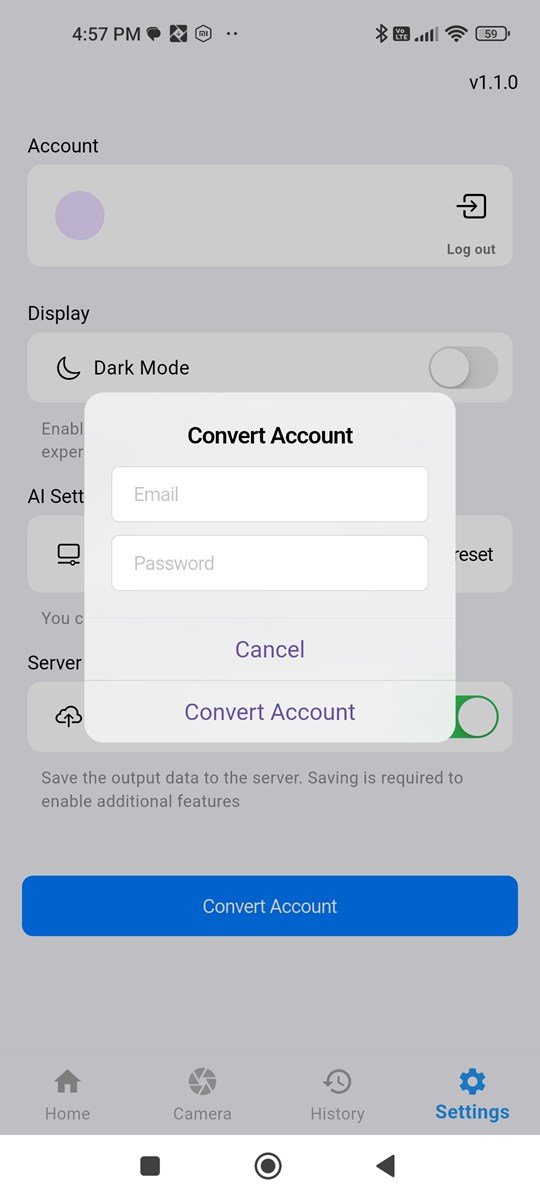
This will convert your guest account to a real account.
Account conversion can only be done to an email address account.
If you want to create a Google/Apple account, log out of the guest account and log in using the Google/Apple authentication button from the initial login screen.
Please specify 6 characters or more for the password. If the password is too simple, the account conversion will fail. We do not check the existence of the email address, but if it is not in email format, the account conversion will fail.
Change preset
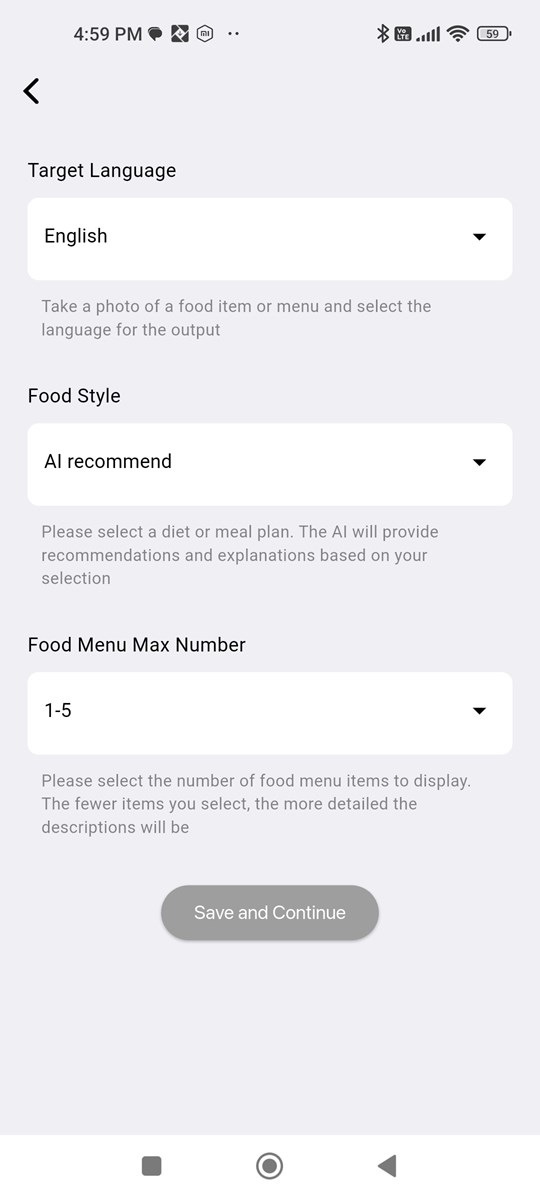
Change the preset for AI settings.
Select your preferred preset.
Target language
-You can choose which language to translate the scanned menu into from 21 languages. The default is the device language, the language of the device's language settings, or your own language. The default is the device language.
Meal style
-You can choose the criteria that the AI will recommend from the scanned menu. You can choose from AI recommendation, low fat, low salt, nut free, seafood, meat, and halal. The default is AI recommendation.
Maximum number of menus
-You can choose the number of menus that the AI will recommend from the scanned menu. You can choose from 1, 1-3, 1-5, and all. The default is 1-5.
Change Password
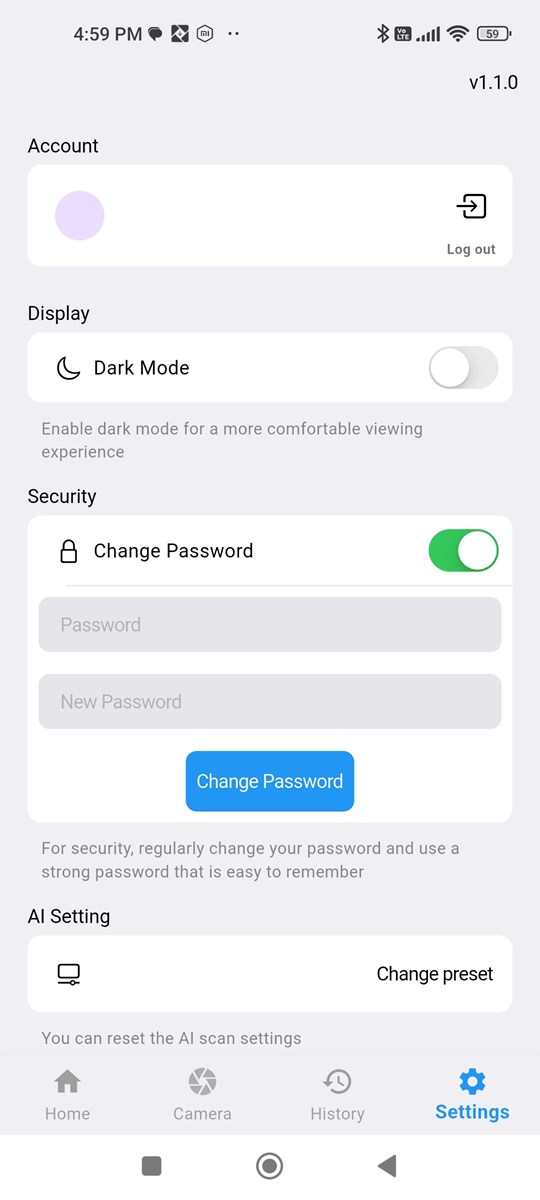
If you have specified an email address and password, you can change your password under Security.
Please specify a password that is 6 characters or more.